Webforms
The webform allows simple and fast input of multiple data types (selection, text, numerical inputs, orientation etc.) as well as attaching photos and sketches to reports. Inputs can be grouped into sections, or into different pages for easier use.
All the webforms have the same basics features, which are detailed here.
Customisable data entry and options
You can edit yourself the options for lithologies, ground support standard, person doing the report, etc. for all Inspections forms at the same time.
Except site specific changes, you can edit the options by changing the csv found in your root: ROOT/webforms/instance/server/shared
GeoReference Inspection Location
The location of inspections is georeferenced using the mineplans and a polyline system to show where the inspection was done. The app uses the Levels to geolocate the location of the inspection when underground.
For information about the Levels app and how to setup your levels, please see the documentation here.
The data can be assigned to a single or multiple points and/or lines.
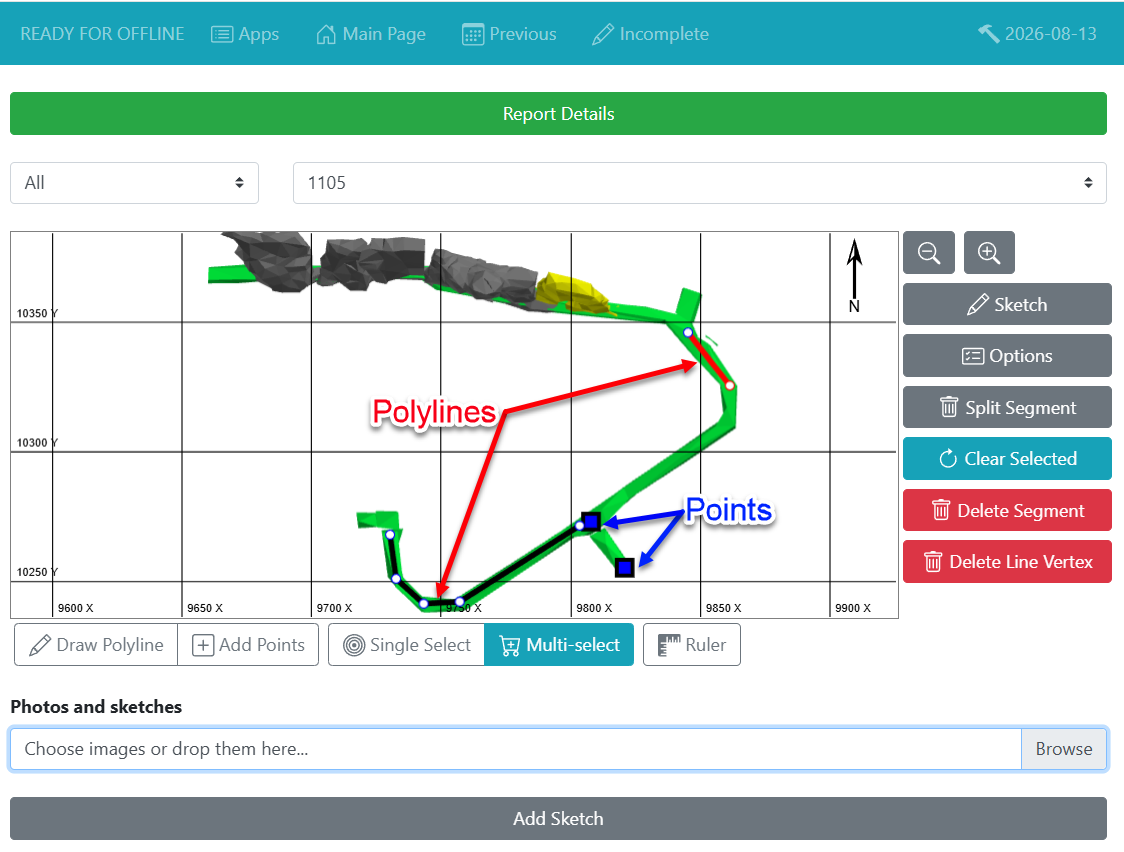
Use the ruler to have proper distance measurements.
Walkthrough video, of setting up your general entry data and georeferencing for all Inspections webforms The example in this case is from the Damage Inspections.
Permanent Segments
The app also has the ability to generate "permanent" segments. This will help geolocate locations that get inspected regularly.
Here is a video of what it looks like in the webforms.
You can set this up from the mXrap app using the instructions here.
Complete, Edit, View and Copy Previous Reports
Here is a video or all the options described below:
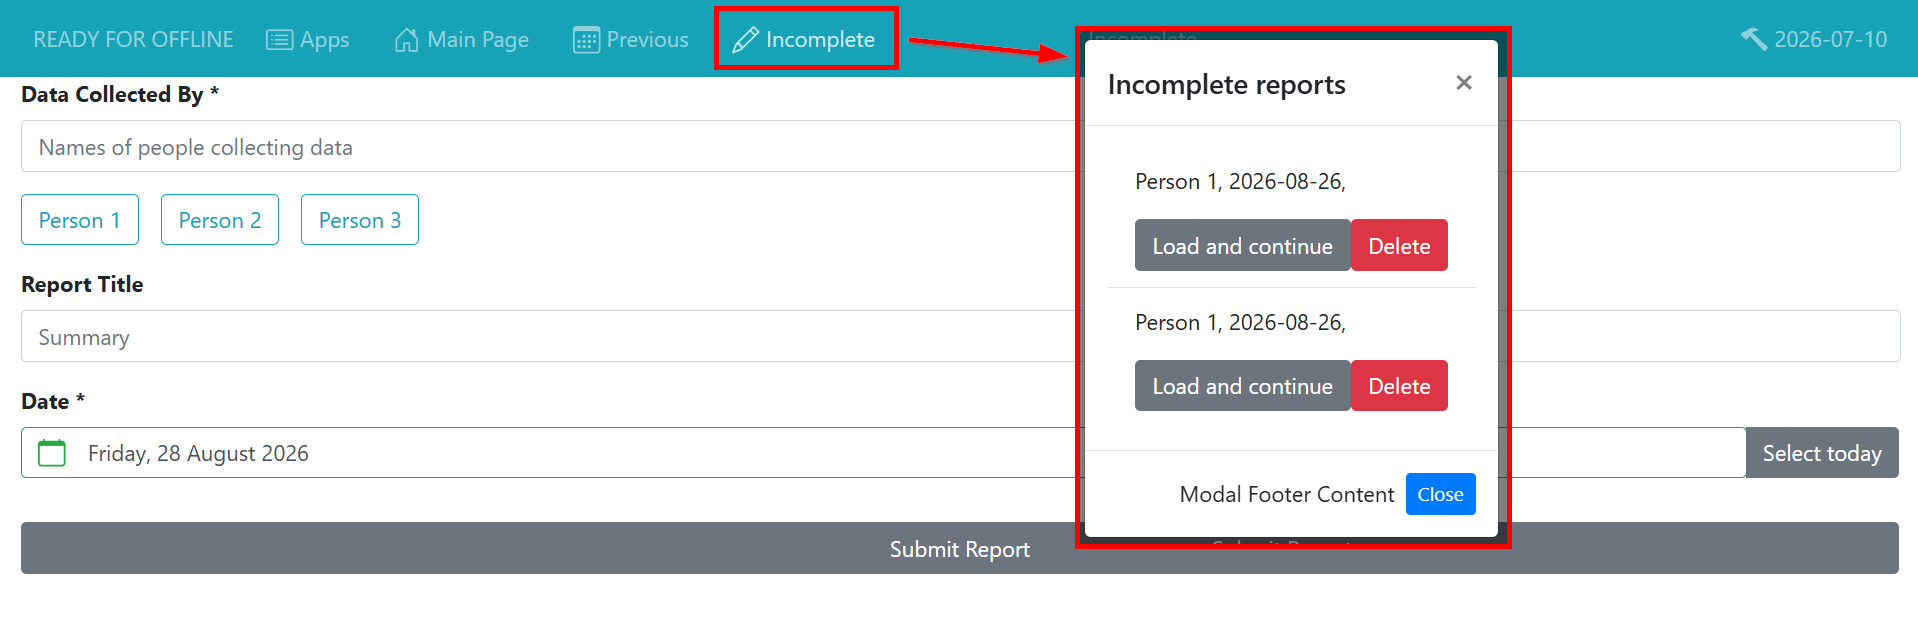
The webforms server allows you to fill to your incomplete webforms
You could start a report at the surface, leave it incomplete, and finish entering the data while inspecting. Or you could do the opposite: starting it underground and finish it at the surface.
You can also view your previous reports (and print as PDF) or edit them.
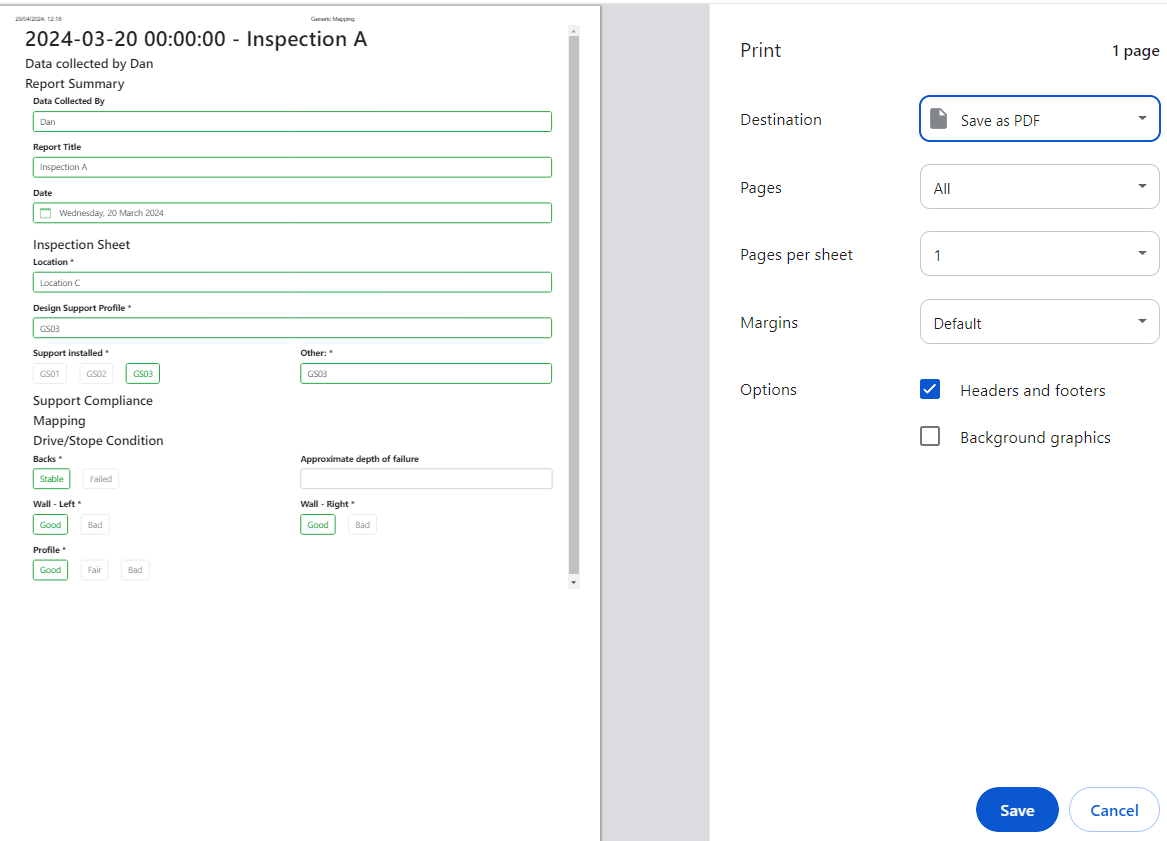
The reports can be edited whether they have been imported in the desktop mXrap or not. If the report has already been imported, it will be overwritten with the edited version once it has been re-imported in the desktop app.
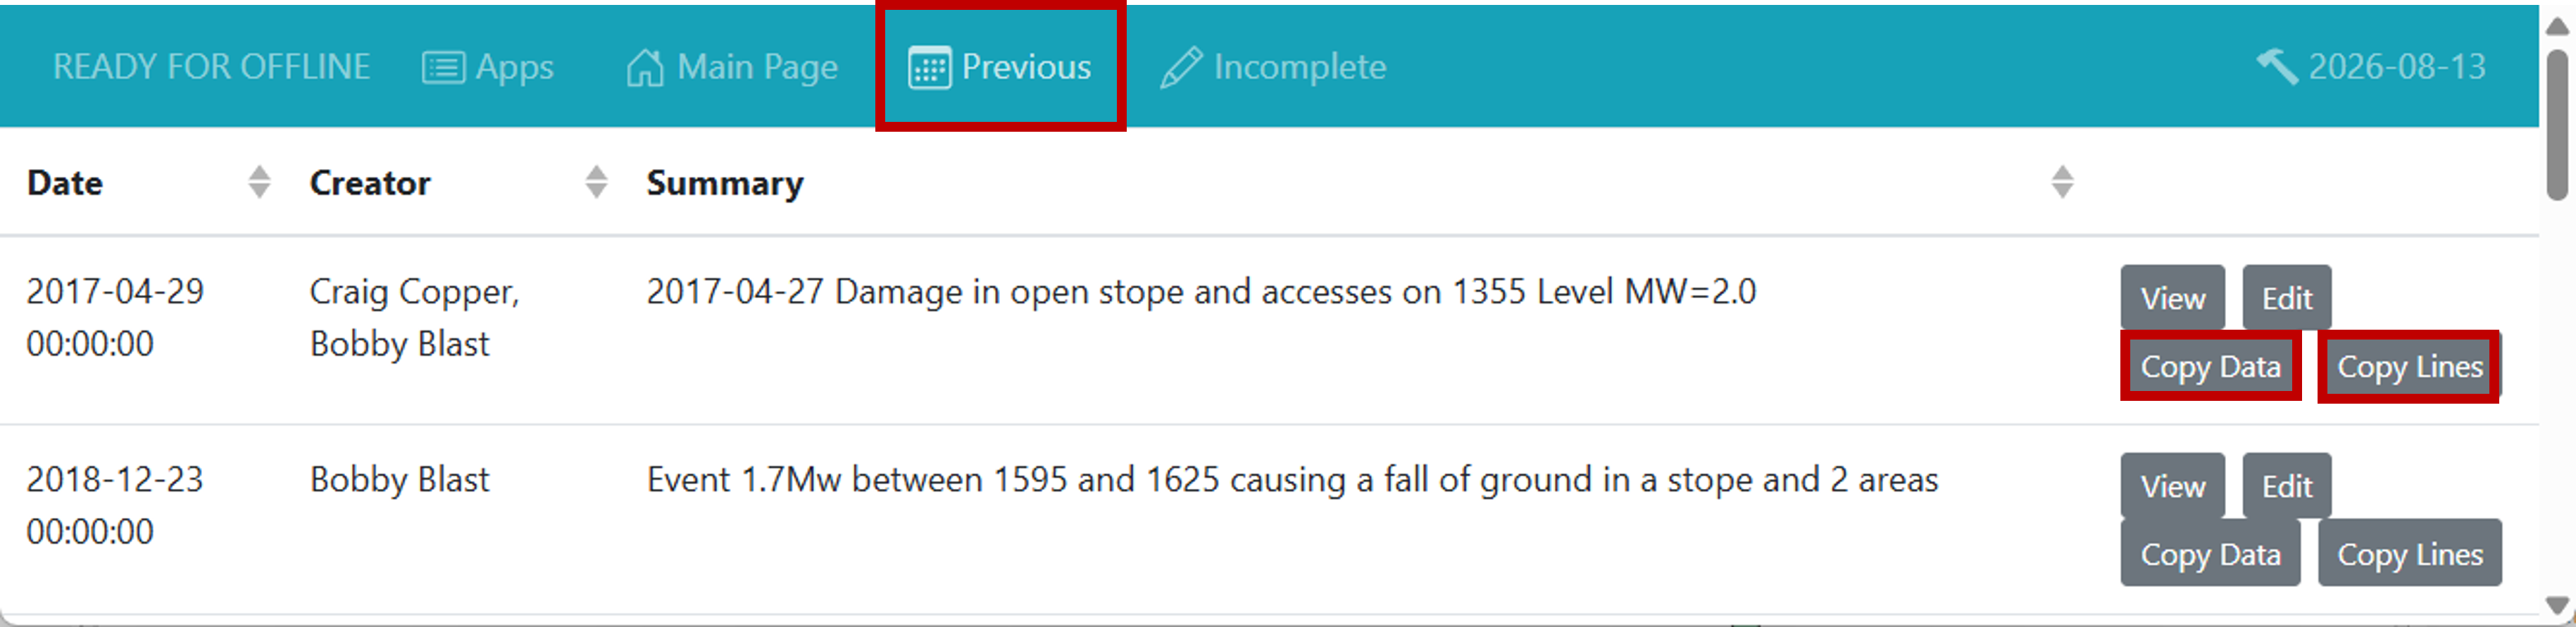
You can also Copy Data or Lines from a previous report This functions can be found in the "Previous" section of the webforms.
- Copy lines allow you to copy points and lines from a previous report.
- Copy data copies all the data from the report: useful if you are doing a follow-up of a previous inspections.
Attaching Photos
You can attach photos to your report or to your georeference location (ie. polylines or points).
See the video below to see how to attach a photo to a polyline in the webforms
Offline Functionality
One of the main features of the inspections webforms is that ability to create inspection reports while offline. This means you can bring a device with you underground to fill in inspection report details which will automatically submit once it is connected back to the server.
How it works:
- Make sure the device you want to use is connected to the same network as your server.
- On the device, open a browser and go to the webforms page.
- The link/url to the webforms page is the one that was setup on the webforms server.
- Load all the webform apps.
- Each webform app is cached individually when opened so you have to open eac app you plan to use offline.
- After the page loads, look for the "Ready for Offline" text on the top left.

- If the page does not load or the text on the top left says "Online Only" (like below), please see the Troubleshooting page.

- If the page does not load or the text on the top left says "Online Only" (like below), please see the Troubleshooting page.
- Disconnect the device from the network and see if you can still access the webforms
- You can do a test simply by refreshing the page after disconnecting.
- If you can still see your webform, then your device is ready for offline.
- Fill in your report details and submit your inspection reports
- Reconnect to the webforms server/network
- If you open the webforms on your device, your inspection reports will be automatically submitted to the server.
- Import into mXrap
Incomplete Reports
If you ever get interrupted before finishing a report, or accidentally leave one unfinished, the data you filled in is actually saved to cache. This means you can restore (or delete) anything you were working on that you had not submitted.